Java
🏗 Installation
Install com.bugsplat
from Maven Central.
Maven
Gradle
⚙️ Configuration
After you've installed the SDK from Maven, add an import statement for com.bugsplat.BugSplat
:
Call BugSplat.init
providing it your database
, application
, and version
. It's best to do this at the entry point of your application. Several defaults can be provided to BugSplat. You can provide default values for things such as description
, email
, key
, notes
, user
and additional file attachments.
For servers, console applications, or applications where you don't want to show the report dialog, call BugSplat.setQuietMode
to prevent the BugSplat dialog from appearing.
Wrap your application in a try/catch block and call BugSplat.handleException
in the catch block. This will post the exception to BugSplat.
If your application uses threads, add a call to BugSplat.handleException
in uncaughtException
to post a report to BugSplat before the thread is terminated.
🗺️ Samples
This repo includes sample projects that demonstrate how to integrate bugsplat-java
. Please review the my-java-crasher and my-java-crasher-console folders for more a sample implementation. To run the sample projects, clone this repo and open it in either IntelliJ IDEA or VS Code.
✅ Verification
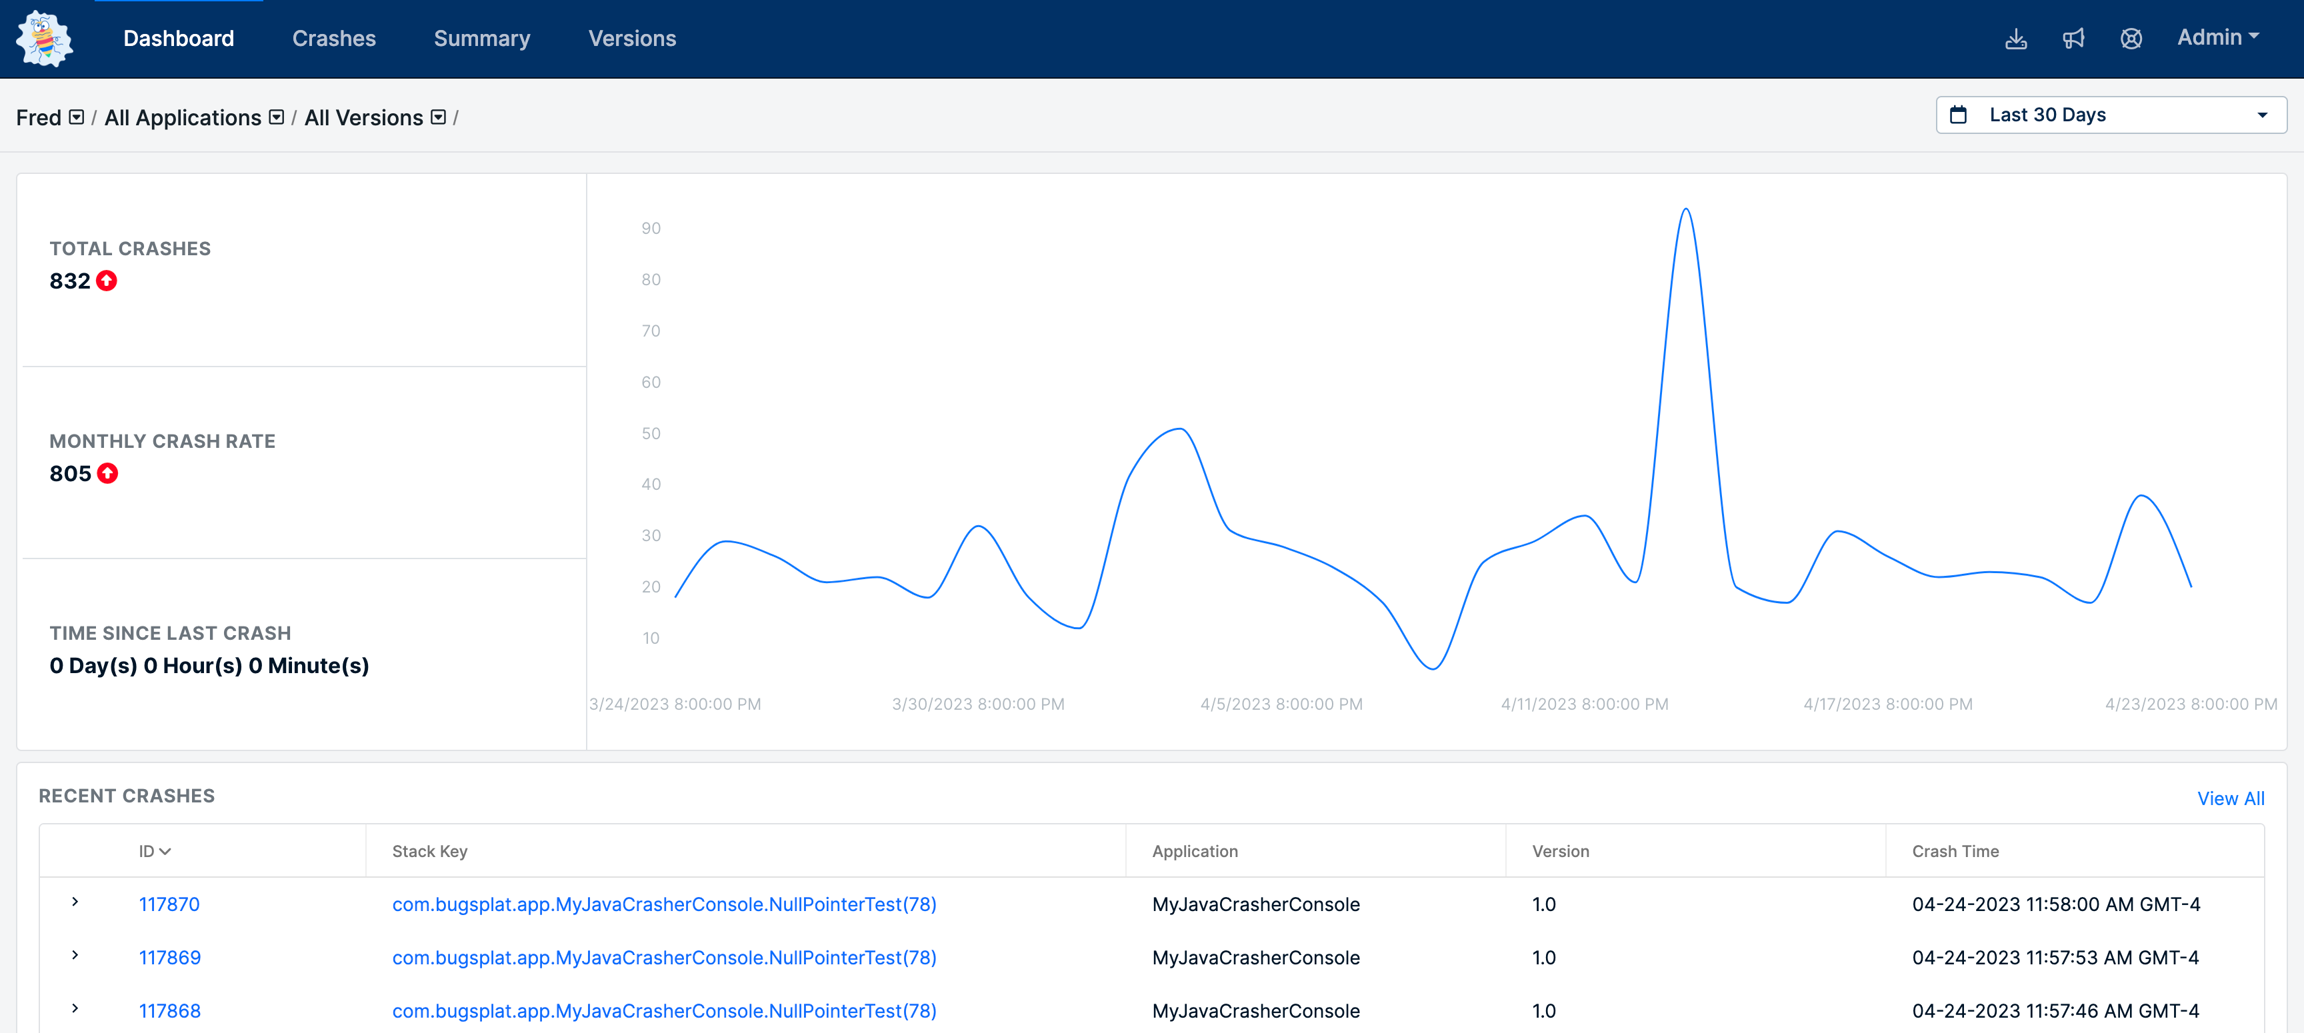
Once you've generated an exception, navigate to the BugSplat Dashboard and ensure you have to correct database selected in the dropdown menu. You should see a new report under the Recent Crashes section:
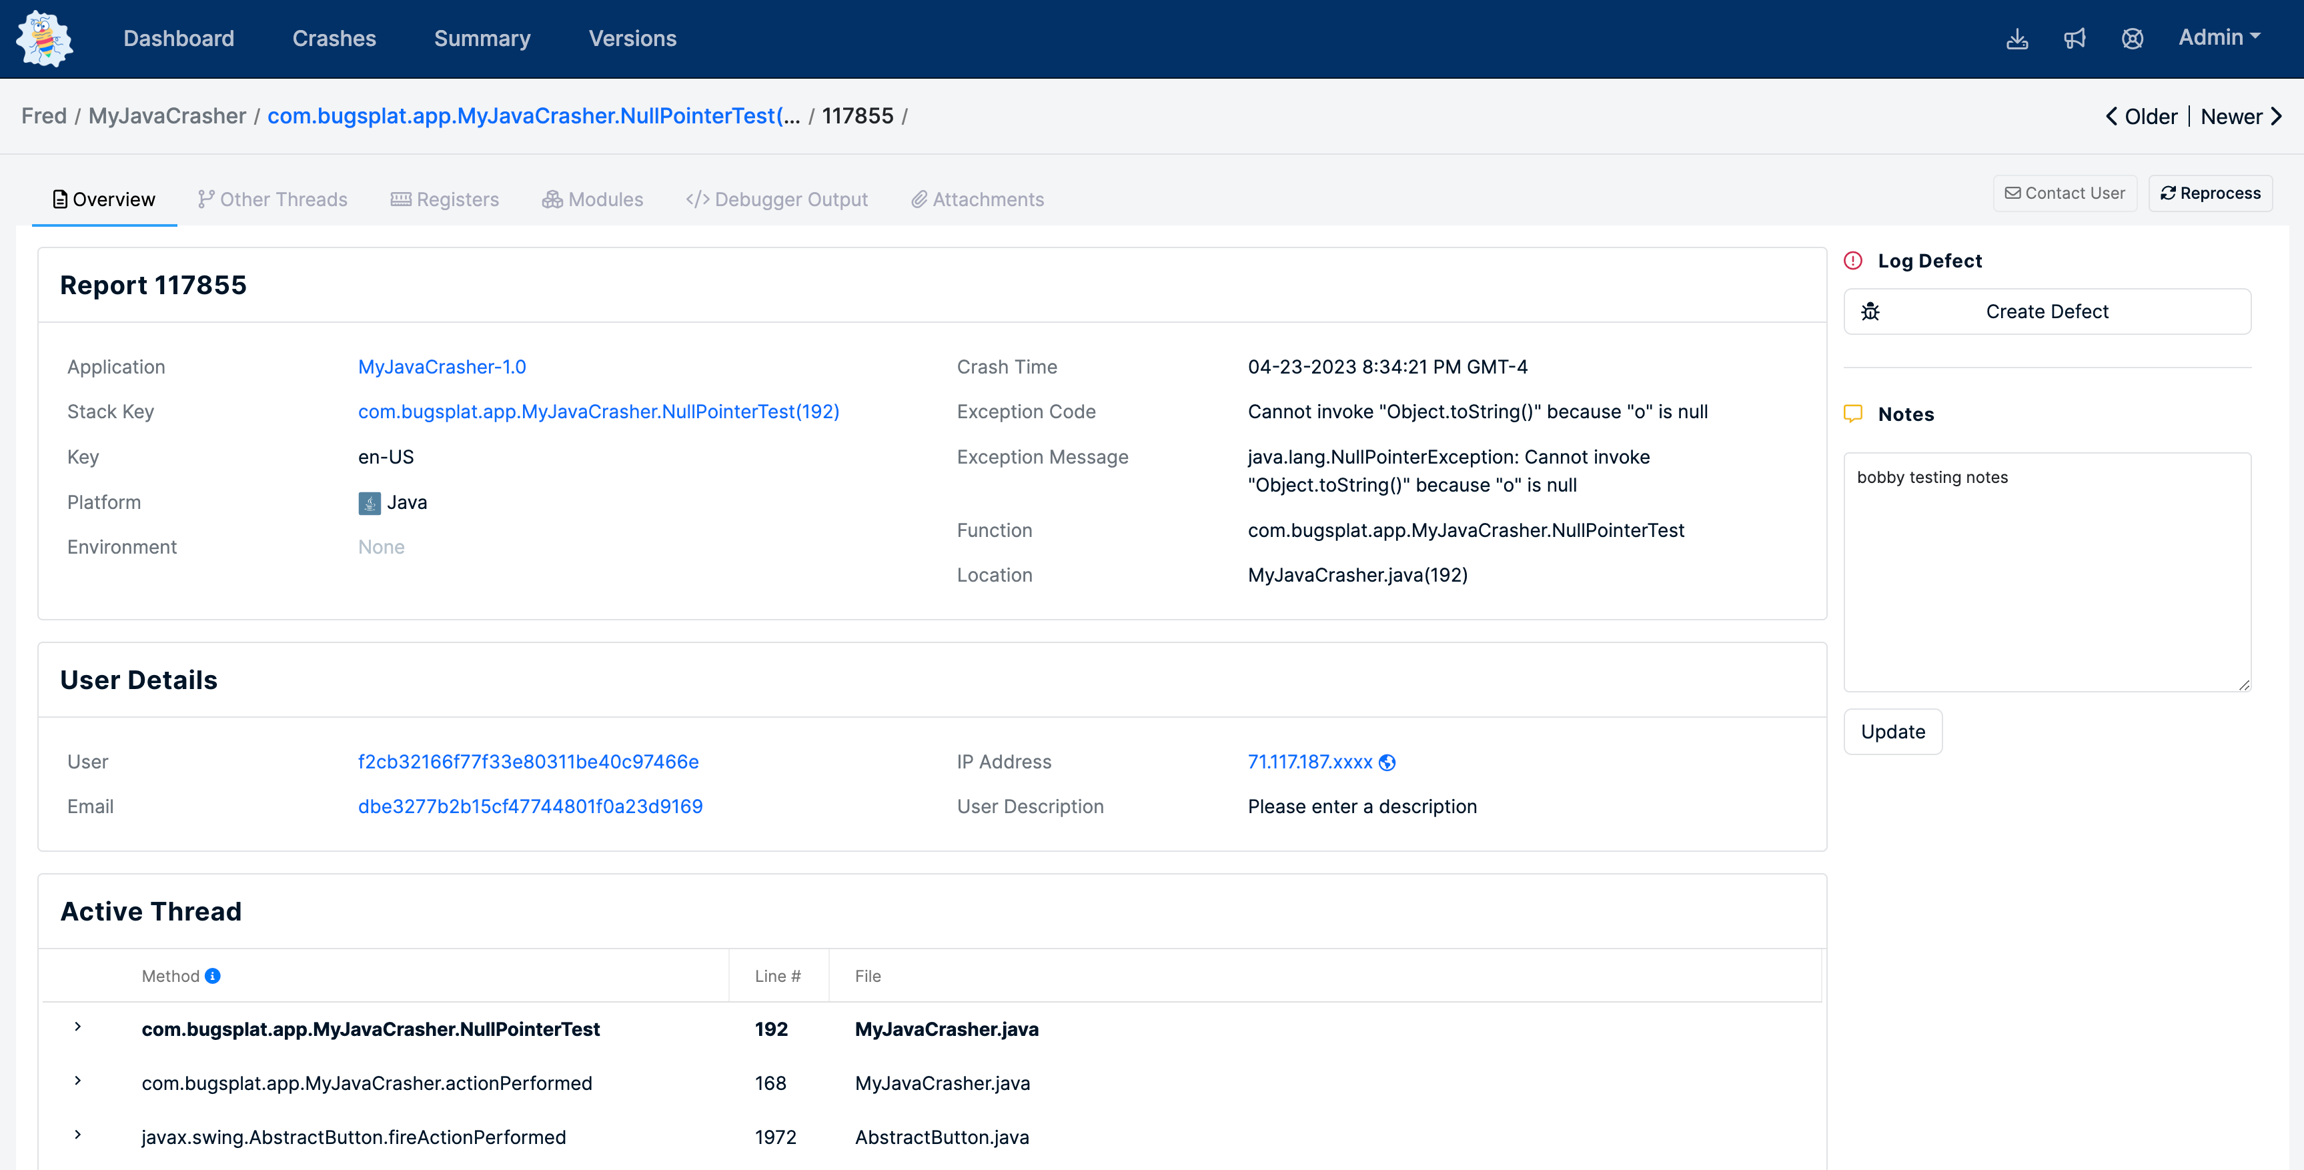
Click the link in the ID column to see details about the report:
That’s it! Your application is now configured to post reports to BugSplat.
Last updated